

Mastering AWS CodePipeline: Simplifying Application Deployment with CI/CD - A Step-by-Step Guide


Introduction:
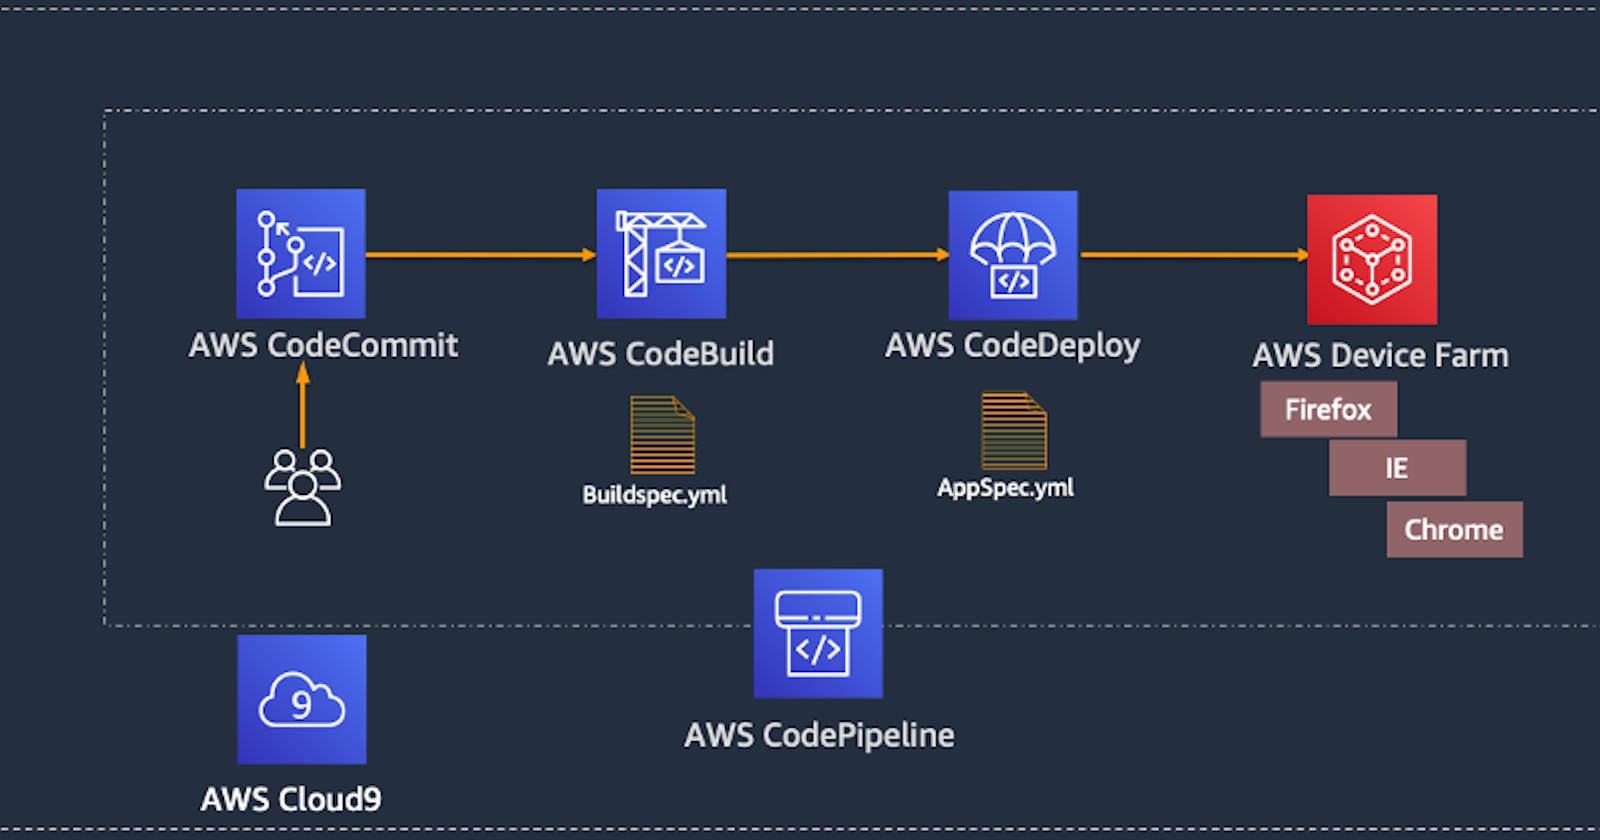
AWS CodePipeline is a powerful continuous delivery service that allows you to model, visualize, and automate the software release process. With CodePipeline, you can easily configure different stages of the release process and automate the steps needed to continuously deploy your software changes.
Create a CodePipeline that gets the code from CodeCommit, Builds the code using CodeBuild, and deploys it to a Deployment Group.
To set up the deployment group for this activity, follow this link: devopsculture.hashnode.dev/codedeploy-your-... It will guide you through the process of creating the deployment group. Once you have set up the deployment group, access the AWS Management Console, navigate to CodePipeline, and click on "pipelines" to create a new pipeline. Configure the pipeline with your source provider, build stage, and deployment stage using AWS CodeDeploy.
Define actions and artefacts for each stage, review your settings, and then create the pipeline. With AWS CodePipeline, you can automate your deployment workflow and ensure consistent and reliable releases without manual intervention.

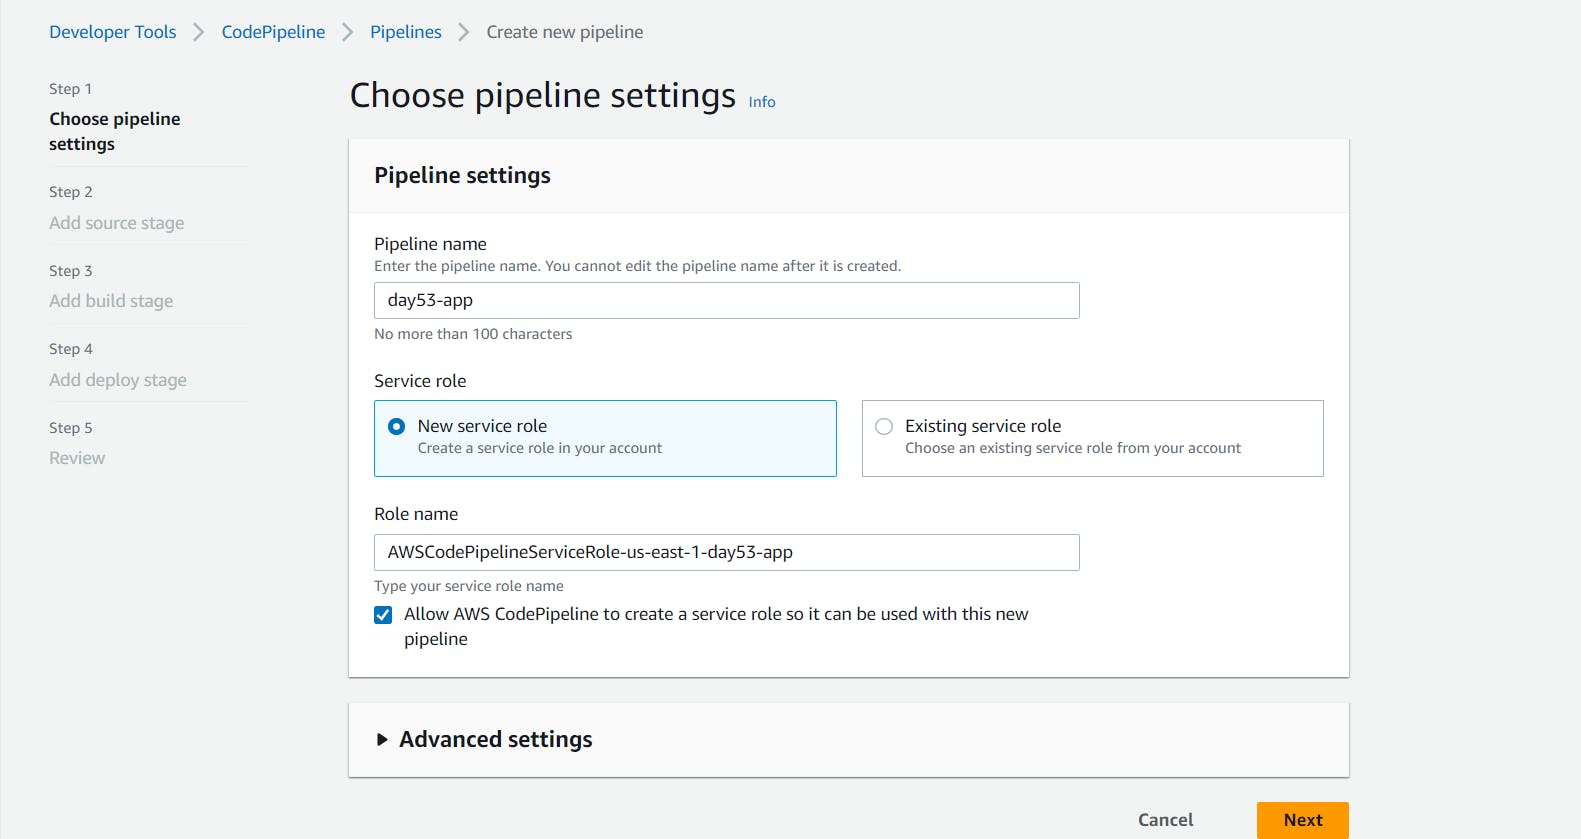
Choose pipeline settings:
Name your pipeline "day53-app" and select "New Service Role." Click on "Next" to proceed.
Add source stage :
Select AWS CodeCommit as your source provider and choose the desired repository and branch. Configure change detection options using AWS CodePipeline and proceed to the next step.

Add build stage :
In the AWS Management Console, select "AWS CodeBuild" as the build provider and choose your desired build project from the list. Click on "Next" to proceed with the configuration.

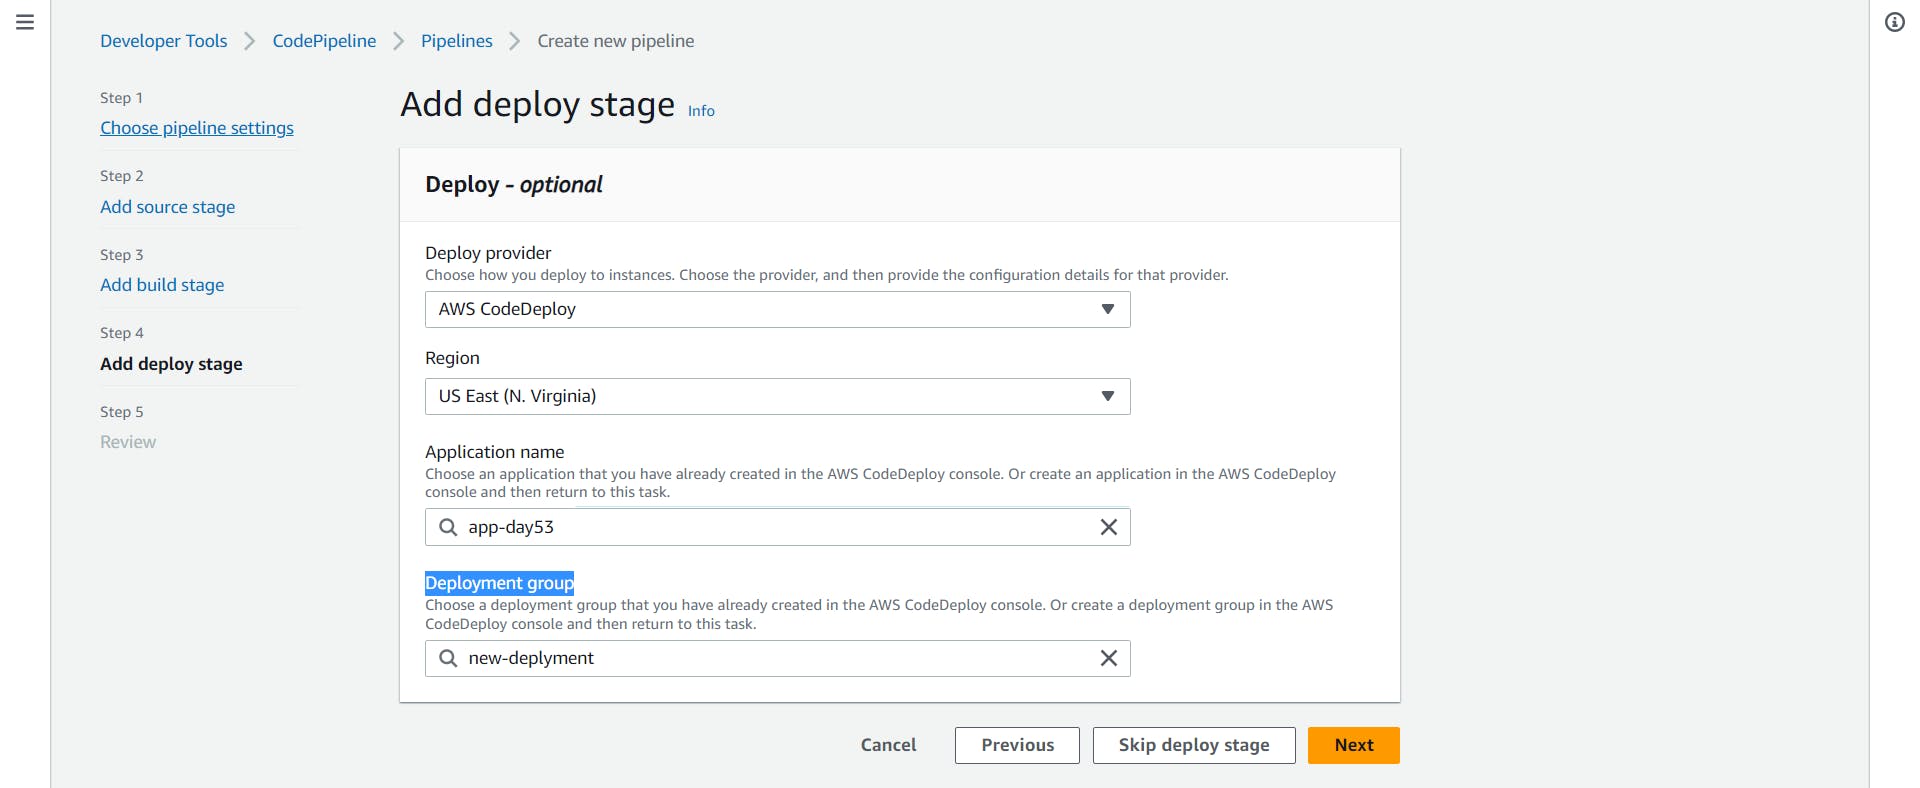
Add the deploy stage:
To streamline your application deployment process with AWS CodePipeline, follow these simple steps:
Set up a deployment group in AWS CodeDeploy based on your requirements.
Access the AWS Management Console and navigate to CodePipeline.
Click on "Pipelines" and select "Create Pipeline."
Choose your preferred application name and deployment group.
Click on "Next."
Click Create Pipeline after reviewing it.
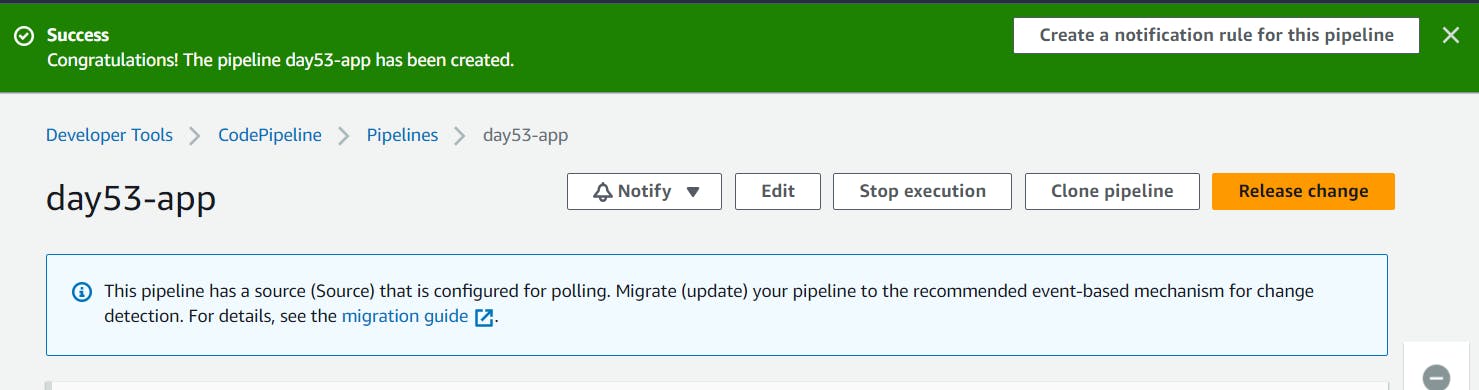
After successfully creating your pipeline, it automatically triggers the code, streamlining the process and automating your deployment workflow. Enjoy the benefits of seamless and consistent releases without manual intervention.
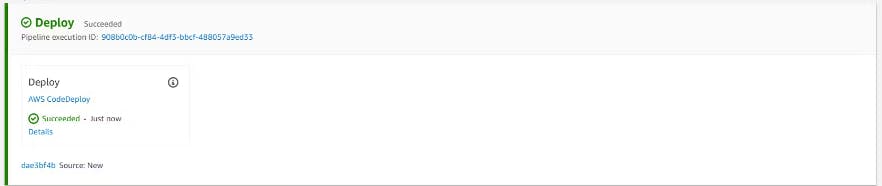
Congratulations, our pipeline has successfully run! To verify this, let's access our NginX server via our EC2 instance's Public IPv4.
Conclusion:
In this blog, I explored the AWS CodePipeline service. Though I haven't been consistent with my posts in the past two weeks, I'm determined to get back on track. Your continuous support and readership mean a lot to me.
If you have any questions or experiences to share, feel free to comment below. Don't forget to stay updated with my blogs and connect with me on LinkedIn for engaging conversations. Thank you for being a part of this journey!

To connect with me - Subho Dey